The interior design process usually moves through seven phases: discovery, concept, design development, documentation, procurement, installation and handover. Each phase should end with a clear client decision, so the next phase builds on something settled rather than something that may change.
Every studio names these stages a little differently, and small projects may combine some of them. What matters is the order and the approvals between them. Here's what happens in each phase, what to get approved, and where projects tend to go wrong.
| Phase | Main output | Decision that closes it |
|---|---|---|
| 1. Discovery | Written brief and site information | Brief, scope and fee agreed |
| 2. Concept | Moodboards and initial layouts | Design direction approved |
| 3. Design development | Detailed drawings and selections | Design and budget approved |
| 4. Documentation | Construction drawings and schedules | Drawings frozen and quotes approved |
| 5. Procurement | Orders and delivery tracking | Each order confirmed against the approved selection |
| 6. Installation | Work on site and resolved queries | Punch list agreed |
| 7. Handover | Finished space and final documents | Project accepted and closed |
Phase 1: Discovery
Discovery is where you learn what the client needs, how they live or work, their taste, their budget and their priorities. It usually includes an initial meeting, a site visit and measurements.
Turn what you've learned into a written brief and ask the client to confirm it. A brief prevents many later disagreements, because it gives you something to refer back to when the requests start to grow.
Finish with: an agreed brief, scope and fee. Your interior design proposal is the natural place to record these.
Phase 2: Concept
Here you explore the overall direction through moodboards, colour and material ideas, and early layouts. Review the concept internally before presenting it, then walk the client through how it answers the brief.
Keep this phase focused on the big decisions. If the client is debating door handles before agreeing on the direction, bring the discussion back to the overall idea.
Finish with: written approval of the design direction. This is the most important approval on the job, because detailed work shouldn't begin without it.
Phase 3: Design development
The approved concept now becomes a detailed design: refined layouts, elevations, lighting, joinery, furniture, finishes and fixtures. Selections start to have real prices attached, so this is the time to check the design against the budget.
Finish with: client approval of the developed design and a budget that still works. Solving a budget gap now costs far less than solving it after orders are placed.
Phase 4: Documentation
This phase produces the information others will build and buy from: construction drawings, details, and schedules for finishes, fixtures and furniture (often called an FF&E schedule). Depending on the project, you may also need permits or input from engineers and other consultants.
Brief vendors and contractors using these documents, gather quotes, review them internally, then present them to the client.
Finish with: a drawing freeze and approved quotes. From here on, every change should go through a formal change process with its cost and time impact recorded.
Phase 5: Procurement
Procurement covers placing orders, paying deposits, tracking lead times and managing deliveries. Check every order against the approved selection and keep records of what was ordered, from whom, and when it's due.
Long lead items need the most attention, since they can hold up the whole schedule. Order them early enough to arrive when the site is ready, and plan for storage if they arrive before then.
Finish with: confirmed orders and a delivery schedule that matches the site programme.
Phase 6: Installation
Work happens on site. Your role depends on your scope, but it usually includes site visits, answering contractor questions, issuing clarifications, reviewing workmanship and updating the client.
Record each site visit and any instruction given. Near the end, walk the space and create a punch list (also called a snag list) of everything that still needs fixing or finishing.
Finish with: an agreed punch list, with an owner and date for each item.
Phase 7: Handover
Once the punch list is cleared, style the space, hand over the finished project, and give the client what they need to look after it: warranties, care instructions and supplier details. Issue your final invoice and archive the project.
This is also the best time to ask for photos, a review and a referral, while the client's excitement is highest.
Finish with: client acceptance and a closed project file.
What are the 5 phases of interior design?
You'll often see the process described in five phases, a structure borrowed from architecture:
- Programming: matching phase 1 above.
- Schematic design: matching phase 2.
- Design development: matching phase 3.
- Construction documents: matching phase 4.
- Construction administration: covering phases 6 and 7, with procurement often running alongside it.
Neither model is the "right" one. We split out procurement and handover because they're distinct pieces of work for many interior projects, but you can use whichever names your clients find clearest.
How long does the interior design process take?
It varies too much for a single honest number. Timing depends on the size of the project, whether construction is involved, how quickly the client makes decisions, and lead times on materials and furniture. A single room with no building work moves far faster than a full renovation.
Instead of quoting a general average, build each timeline from your project's actual steps, then add explicit dates for client decisions. Clients are much more likely to respond on time when they can see what their delay would affect.
Where the process usually breaks down
- Skipping approvals to save time. It feels faster until a late objection forces rework.
- Working from outdated drawings. Keep one current revision and a history of earlier ones.
- Letting changes go unrecorded. Small changes add up and quickly eat into your margin.
- Leaving budget checks too late. Compare selections against the budget throughout design development.
Putting your process into practice
A written process is useful, but it only works if your team follows it on busy days. Turn each phase into a short checklist, and make approval the condition for moving on. Our guide to interior design project management covers the routines that keep this running week to week.
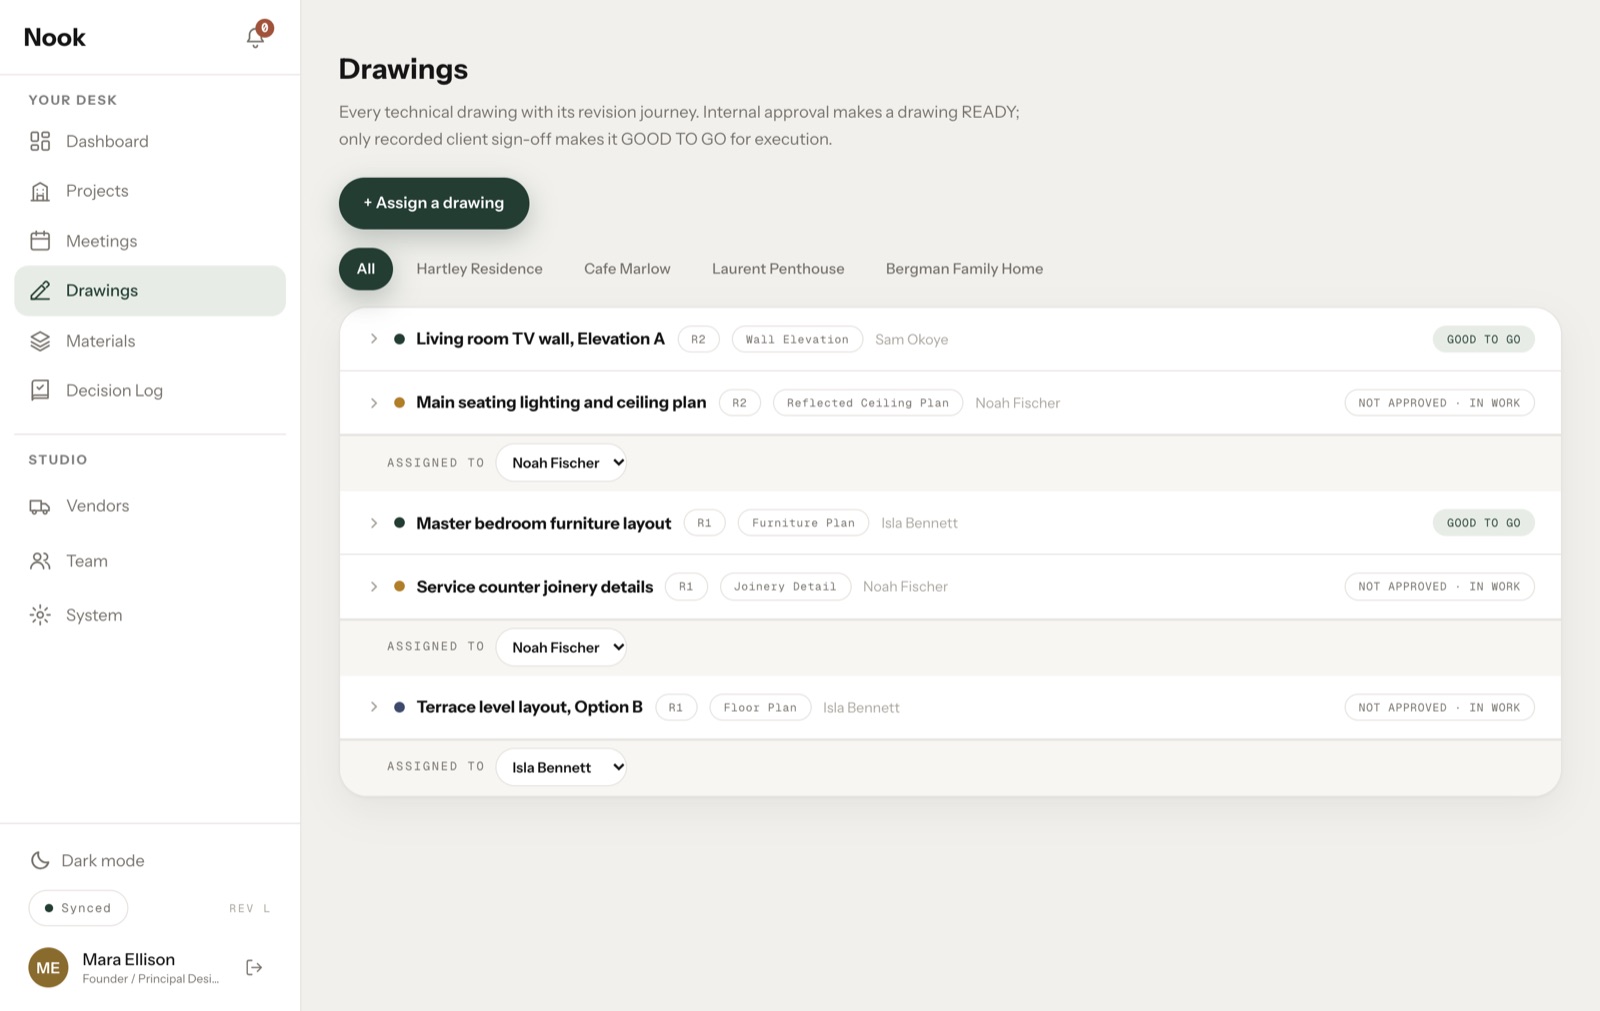
Nook, the software we're building for interior design studios, is designed around this approach. Each project moves through stages with checklists and approvals, and every drawing keeps its revision history. It's currently in early access.
Frequently asked questions
What is the first step in the interior design process?
Discovery: an initial conversation about the client's needs, budget and goals, usually followed by a site visit and a written brief.
What is the difference between the concept and design development phases?
The concept sets the overall direction. Design development turns that direction into specific layouts, materials and products, with real costs attached.
Should clients sign off at every phase?
Yes, at least for the major decisions at the end of each phase. Written approval protects both sides and gives your team confidence to move forward.